Display the contents of an excel using Thymeleaf
Thymeleaf is a server-side templating engine that integrates seamlessly with Spring Boot. It allows to create dynamic web pages by embedding dynamic content directly into HTML templates. Thymeleaf templates are often used to render data from the server to the client, making it a popular choice for building web views in Spring Boot applications.
Here’s how Thymeleaf and Spring Boot work together:
View Rendering: In a Spring Boot application, Thymeleaf is typically used to render the user interface or views. You can define Thymeleaf templates that mix HTML and Thymeleaf expressions. These templates can access and display data from the Spring Boot application, such as model attributes from controllers.
Controller Integration: Spring Boot controllers can handle incoming HTTP requests and prepare data to be displayed in Thymeleaf templates. You can use annotations like @Controller and @RequestMapping to define your controllers and map them to specific URLs.
Model Attributes: Controllers can populate model attributes, which can then be accessed in Thymeleaf templates. Thymeleaf expressions like ${} are used to display these attributes in your HTML templates. For example, you can display dynamic content from the server by simply including ${modelAttribute} in your HTML.
Form Handling: Thymeleaf simplifies form handling in Spring Boot applications. You can create HTML forms using Thymeleaf tags and attributes, and Thymeleaf can automatically bind form data to Java objects in your controller methods.
Internationalization: Thymeleaf provides built-in support for internationalization (i18n) and localization. You can easily create multilingual web applications in Spring Boot by leveraging Thymeleaf’s i18n capabilities.
Layouts and Fragments: Thymeleaf supports the creation of reusable layouts and fragments, making it easy to maintain a consistent look and feel across your web application.
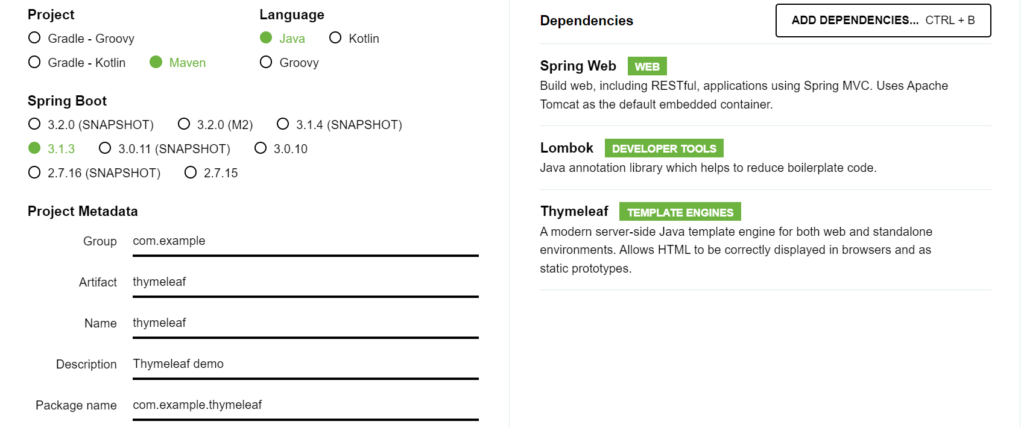
To use Thymeleaf in a Spring Boot application, need to include the Thymeleaf dependency in project’s build configuration.
In this blog we will see how to display the contents of an excel using Thymeleaf. To read excel we will use Apache POI library. The excel contains details of employee like name, Id and department.
Define an endpoint in the controller to view the contents
@Controller
public class ThymeleafDemoController {

	@Autowired
	ThymeleafDemoService service;

	@GetMapping("/employees")
	public String displayExcelContents(Model model) {
		List<Employee> employees = null;
		try {
			employees = service.getEmployees();
		} catch (IOException e) {
			e.printStackTrace();
		}
		model.addAttribute("employees", employees);
		return "employees";
	}
}
Utility class to read the excel
@Component
public class ExcelReader {

	public List<Employee> readExcel() throws IOException {
		List<Employee> employees = new ArrayList<>();
		File file = new File("D://employees.xlsx");
		FileInputStream inputStream = new FileInputStream(file);
		try (XSSFWorkbook workbook = new XSSFWorkbook(inputStream)) {
			XSSFSheet sheet = workbook.getSheetAt(0);
			Iterator<Row> rows = sheet.iterator();
			while (rows.hasNext()) {

				Row row = rows.next();
				int index = row.getRowNum();
				if (index != 0) {
					Employee emp = new Employee();
					Iterator<Cell> cells = row.iterator();
					while (cells.hasNext()) {
						Cell cell = cells.next();
						if (cell.getColumnIndex() == 0) {
							emp.setName(cell.getStringCellValue());
						} else if (cell.getColumnIndex() == 1) {
							int empid = (int) cell.getNumericCellValue();
							emp.setId(String.valueOf(empid));
						} else {

							emp.setDepartment(cell.getStringCellValue());
						}
					}
					employees.add(emp);
				}
				else {
					System.out.println("skipping header");
				}
			}
		}

		return employees;
	}
}
Service:
@Service
public class ThymeleafDemoServiceImpl implements ThymeleafDemoService{
@Autowired
ExcelReader excelReader;
public List<Employee> getEmployees() throws IOException {
return excelReader.readExcel();
}
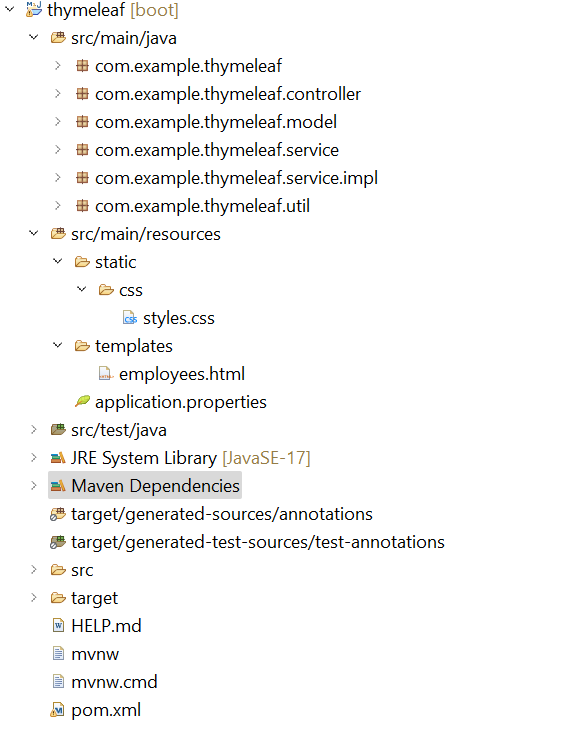
}Next create employees.html file and the css as shown in the below project structure
employees.html – Thymeleaf HTML template
<html xmlns:th="http://www.thymeleaf.org">
<head>
<title>Employees</title>
<link th:href="@{/css/styles.css}" rel="stylesheet" />
</head>
<body>
<h1>Employee List</h1>
<br/>
<table>
<tr>
    <th>Employee Name</th>
    <th>Employee ID</th>
    <th>Department</th>
  </tr>
<tr th:each="employee: ${employees}">
    <td th:text="${employee.name}" />
    <td th:text="${employee.id}" />
    <td th:text="${employee.department}" />
</tr>
</table>
</body>
</html>
CSS:
th, td {
  padding: 15px;
  text-align: left;
  border-bottom: 1px solid #ddd;
  border: 1px solid;
}
table{
	border: 1px solid;
	width: 100%;
}
th {
  background-color: #04AA6D;
  color: white;
}
p{
	align-items: center;
}

h1{
	background-color:DodgerBlue;
	text-align: center;
}
To link css in thymeleaf template add a <link> tag in the <head> section. Use Thymeleaf’s th:href attribute to specify the path to the CSS file.Spring Boot, by default, serves static resources (like CSS files) from the src/main/resources/static directory on the root path. So placing CSS file in the correct location, it will be automatically accessible without any additional configuration.
xmlns attribute in the Html tag sets up the XML namespace for Thymeleaf, enabling to use Thymeleaf attributes and expressions in HTML templates.
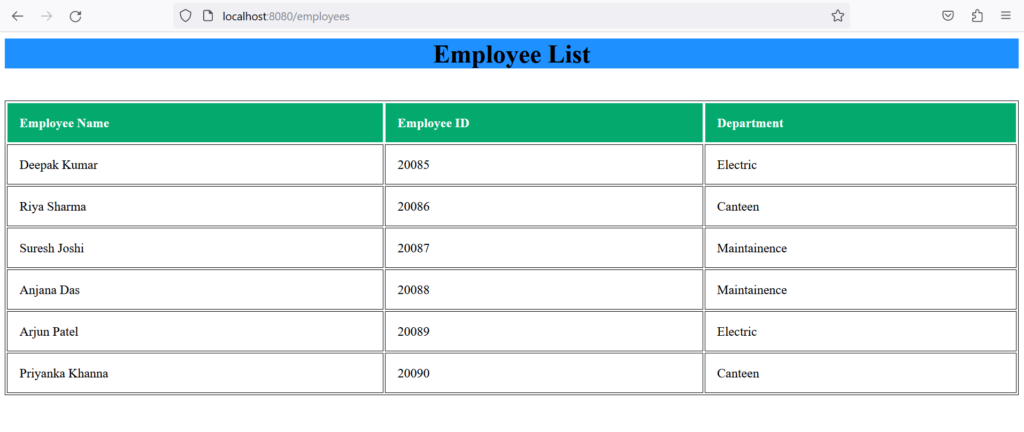
Run the Spring boot application to view the contents from http://localhost:8080/employees
For source code please head to https://github.com/MMahendravarman/Springboot_Examples
Leave a Reply